Final first models of my original characters Eliza & Roxanne (finalised in May 2019), and first time properly trying hand-painting models & using 3DCoat! Semi-following Marc Brunet's "3D Hand-Painted Character for Games" tutorial for this, it was really fun to do! Sculpted in ZBrush (sculpts only project page here), retopologised in Maya (following Danny Mac's retopology tutorials), base maps for texturing baked with xNormal, textured in 3D Coat with some use of Photoshop, and basic renders in 3D Coat. Based them off their original 2015 designs mixed with some of the redesigns' new elements (see below).
Note: The development weekly log I have for this project is 104 pages long (lots of progress images! And notes & commentary), and I am, as of January 2020, working on making a shorter, more curated version of it as well as preparing the original document for sharing. This will allow you to see the process from redesign through sculpt to final model in detail. I hope to also make a blog post about the process in the near future!
Final Models Renders
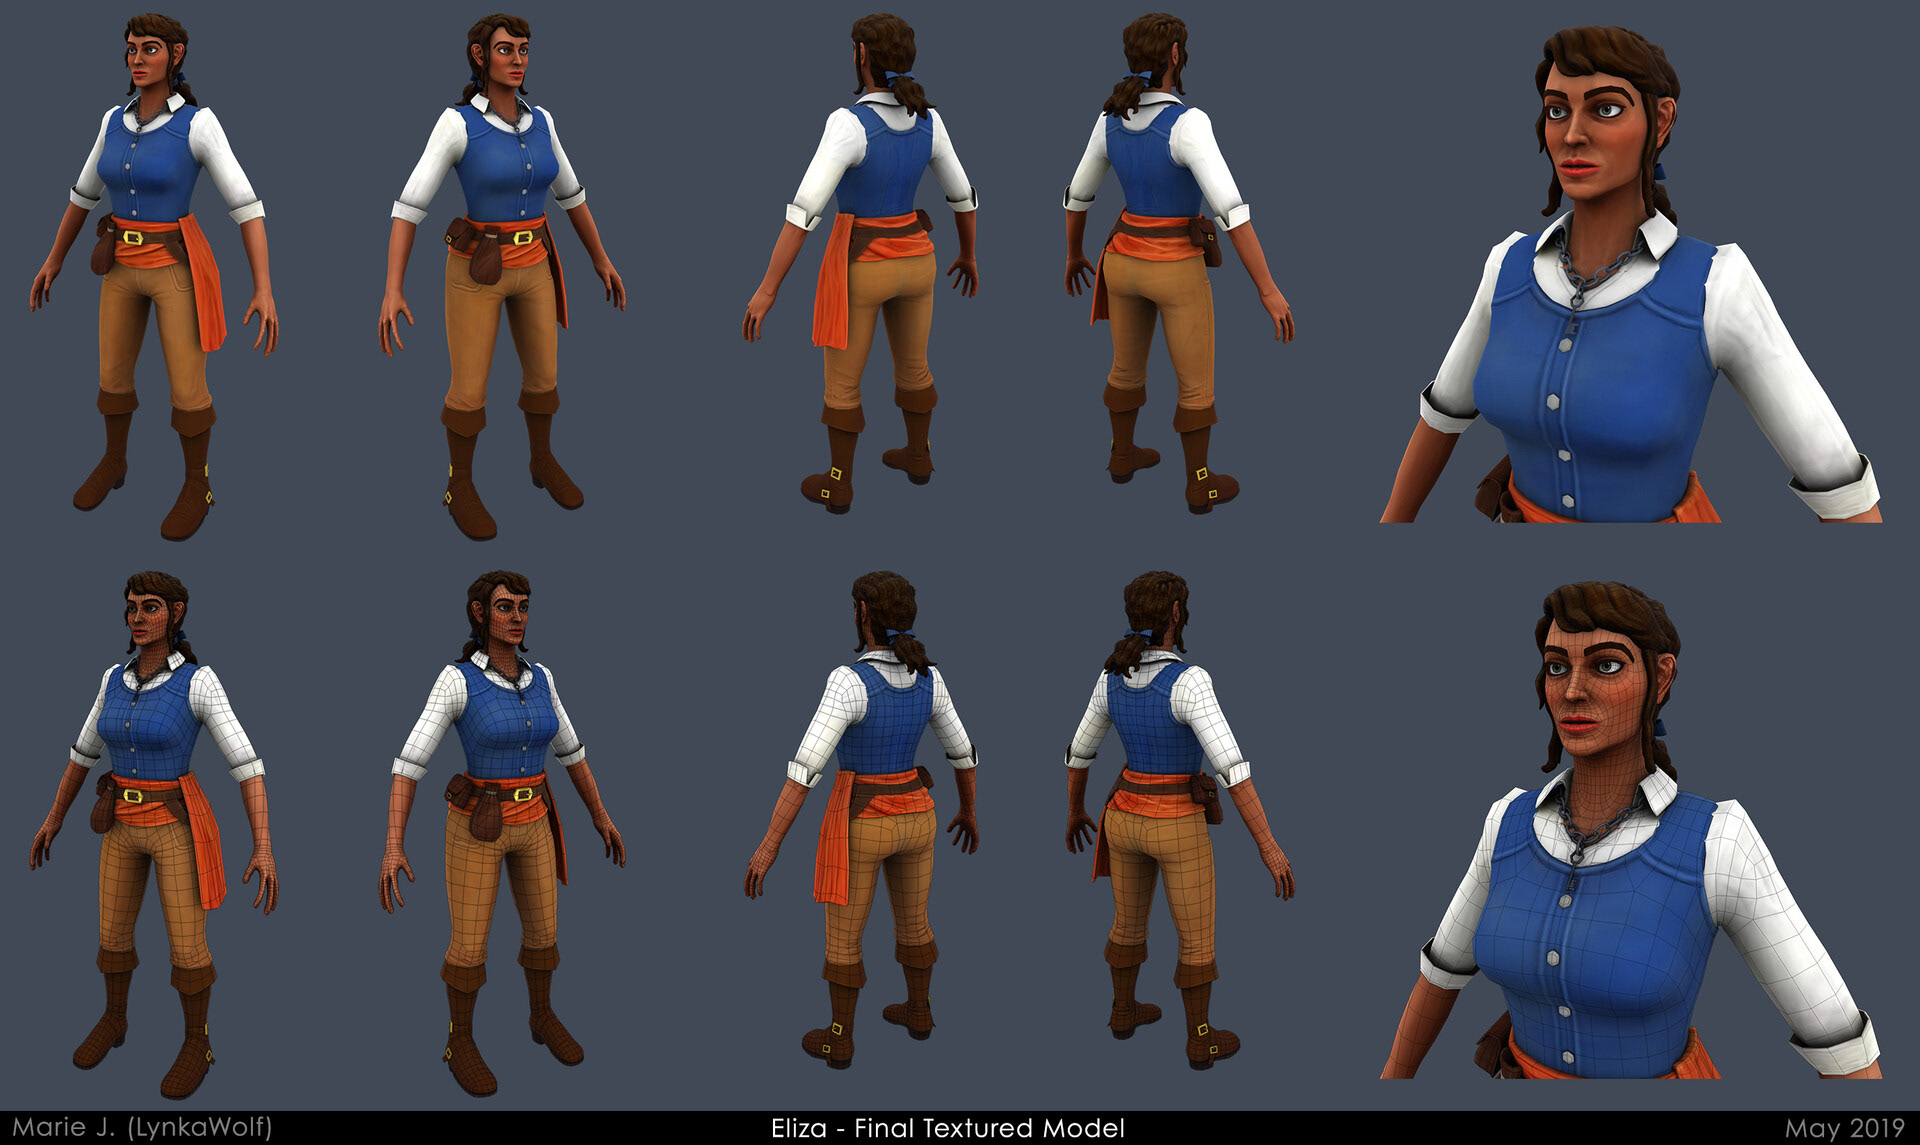
Eliza - Final textured model - turnaround + Close up - Without and with wireframe
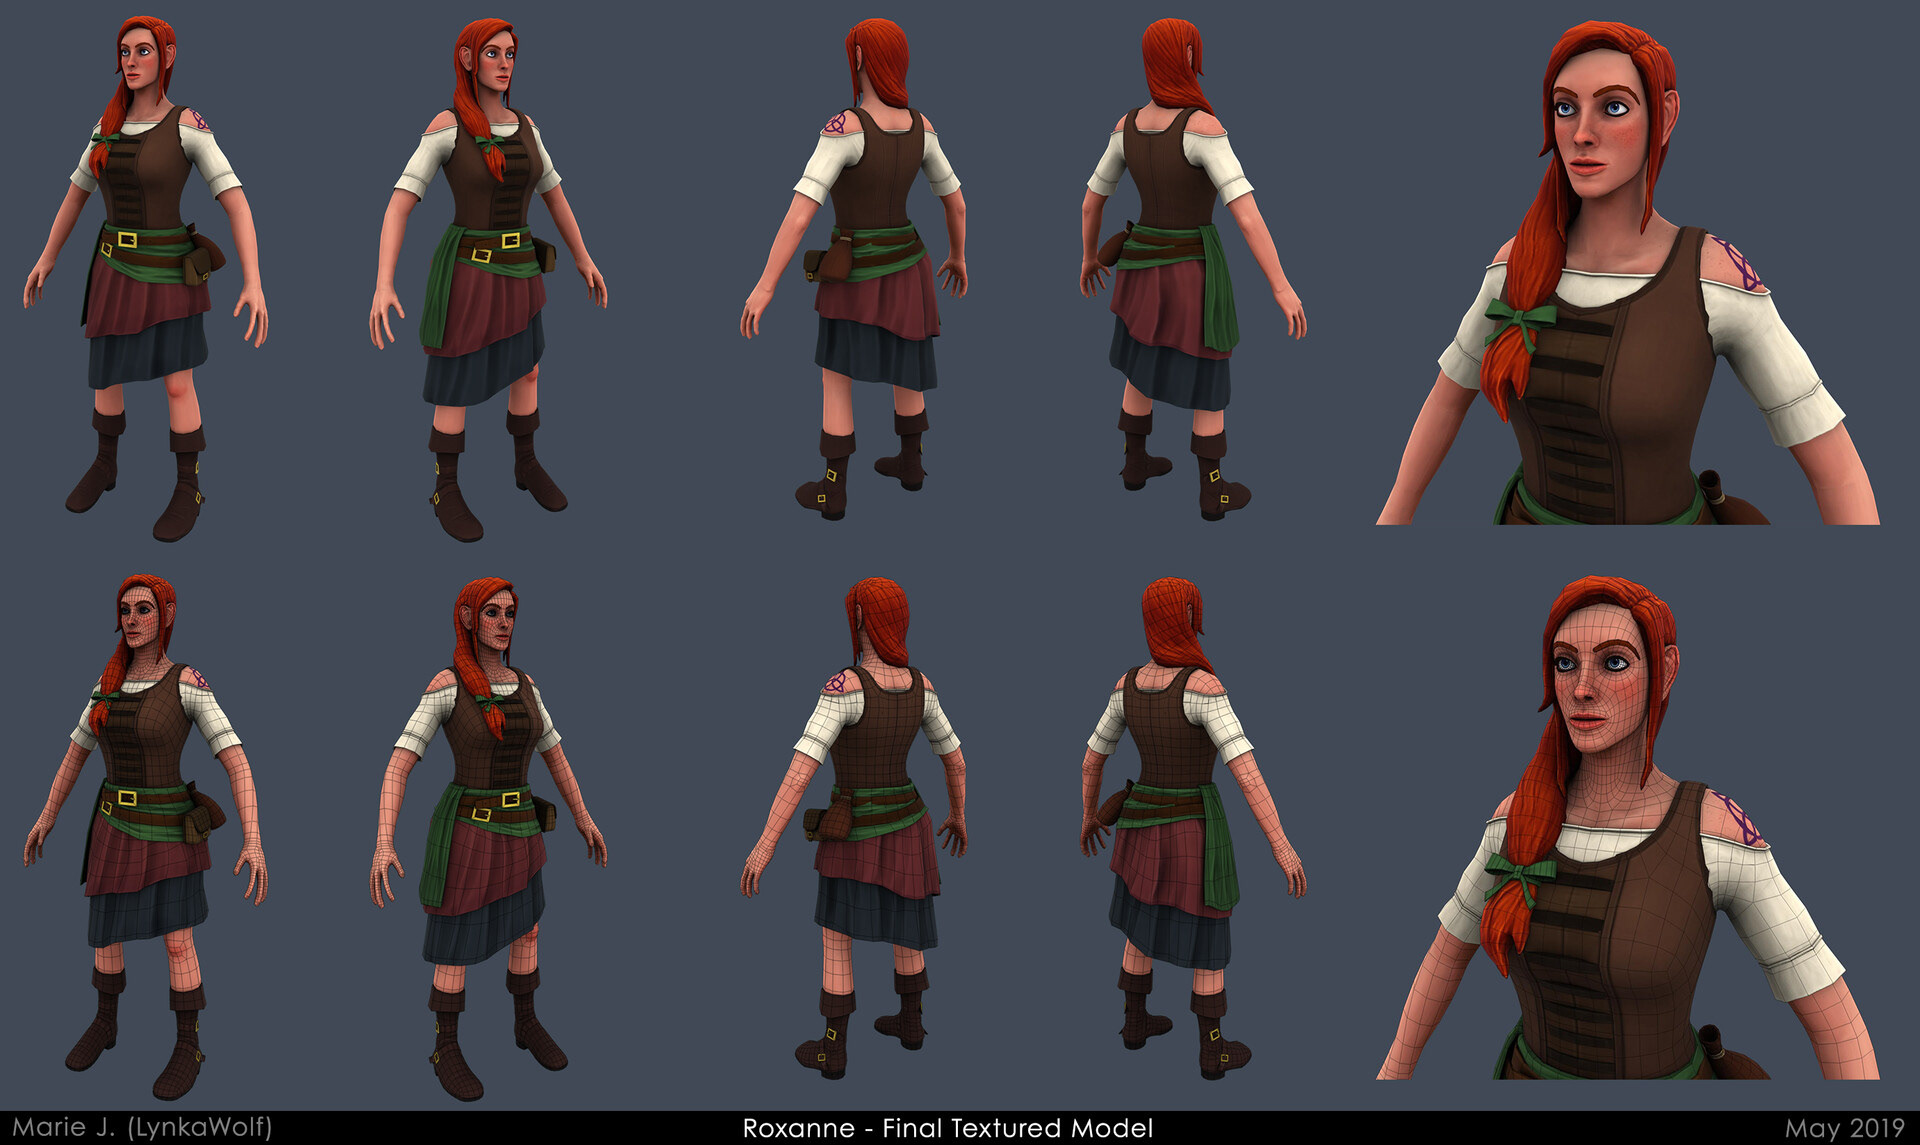
Roxanne - Final textured model - turnaround + Close up - Without and with wireframe
Texture Maps
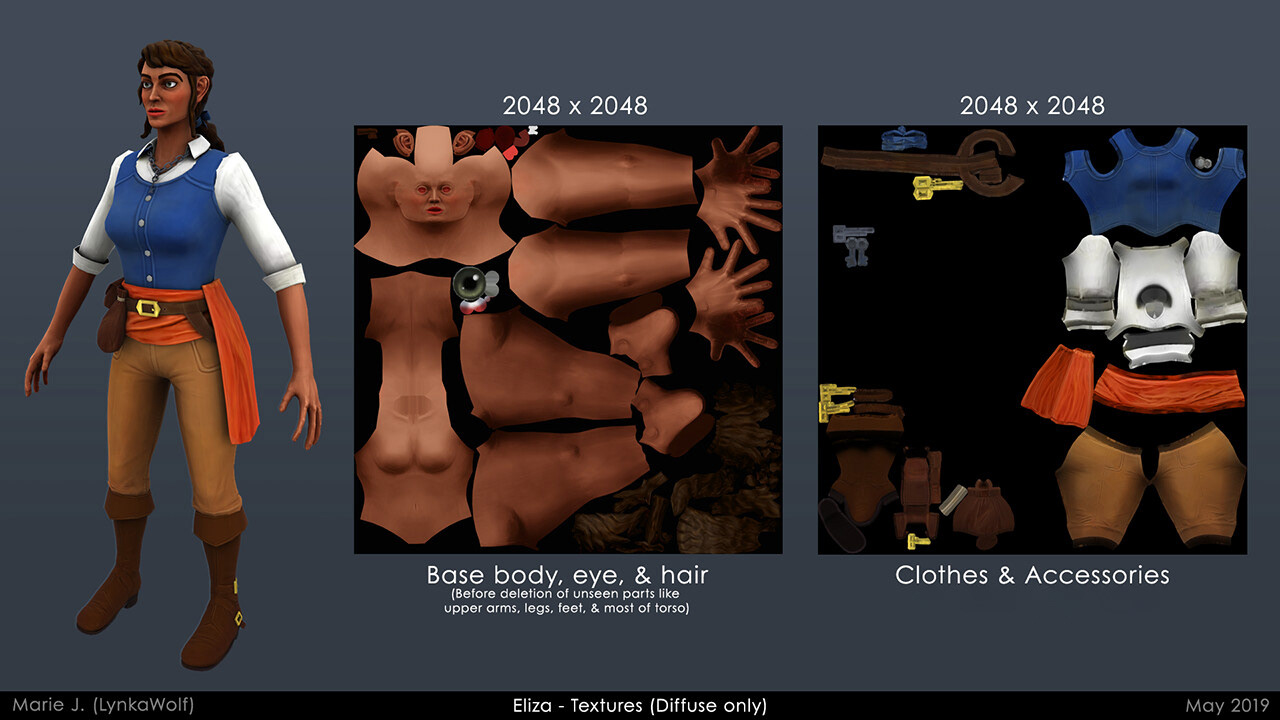
Eliza - Textures (Hand-painted Diffuse maps, using elements from baked normals & bent normals maps as a base)
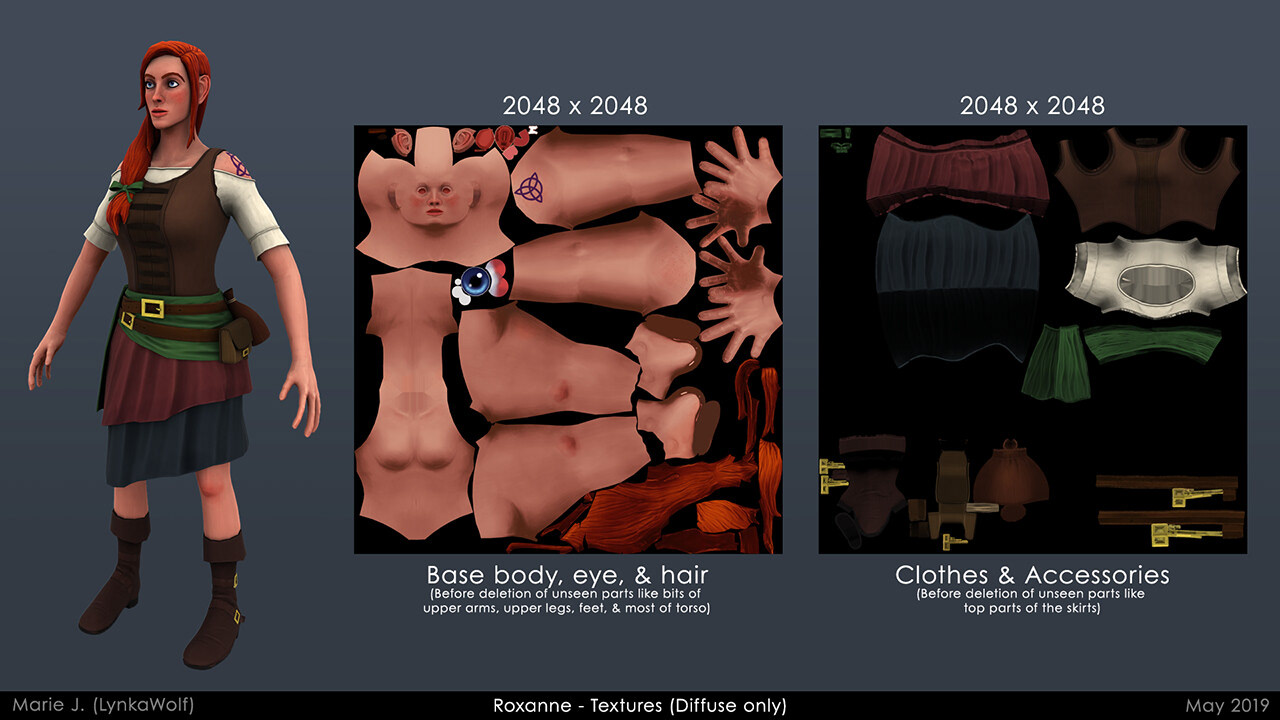
Roxanne - Textures (Hand-painted Diffuse maps, using elements from baked normals & bent normals maps as a base)
2018 Character Re-Design Ideas (Concept Art)
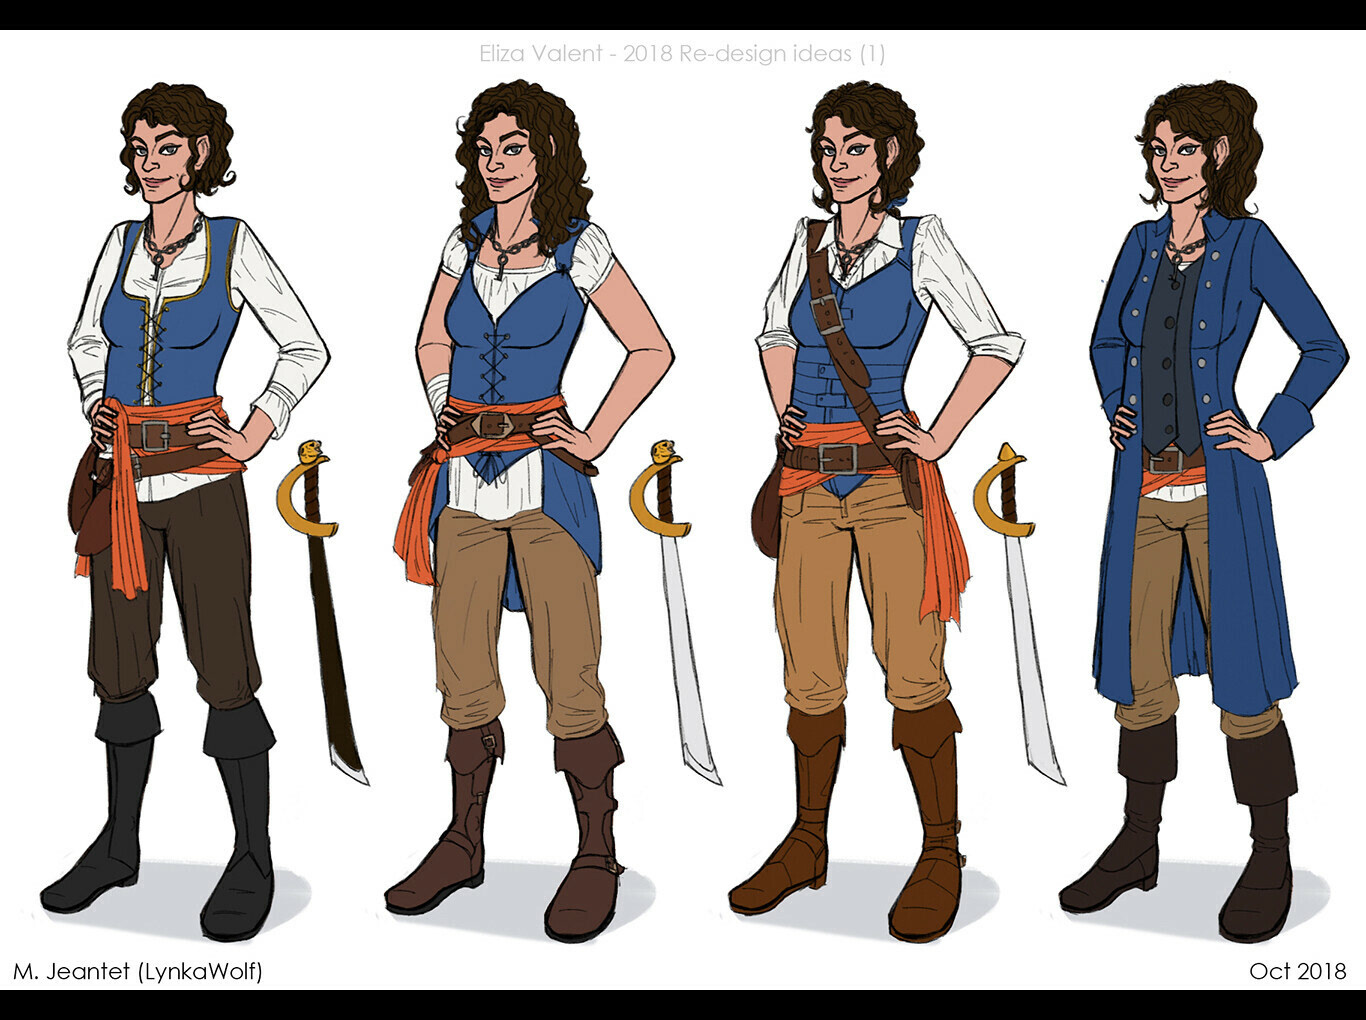
Eliza - 2018 Concept Redesign Ideas 01
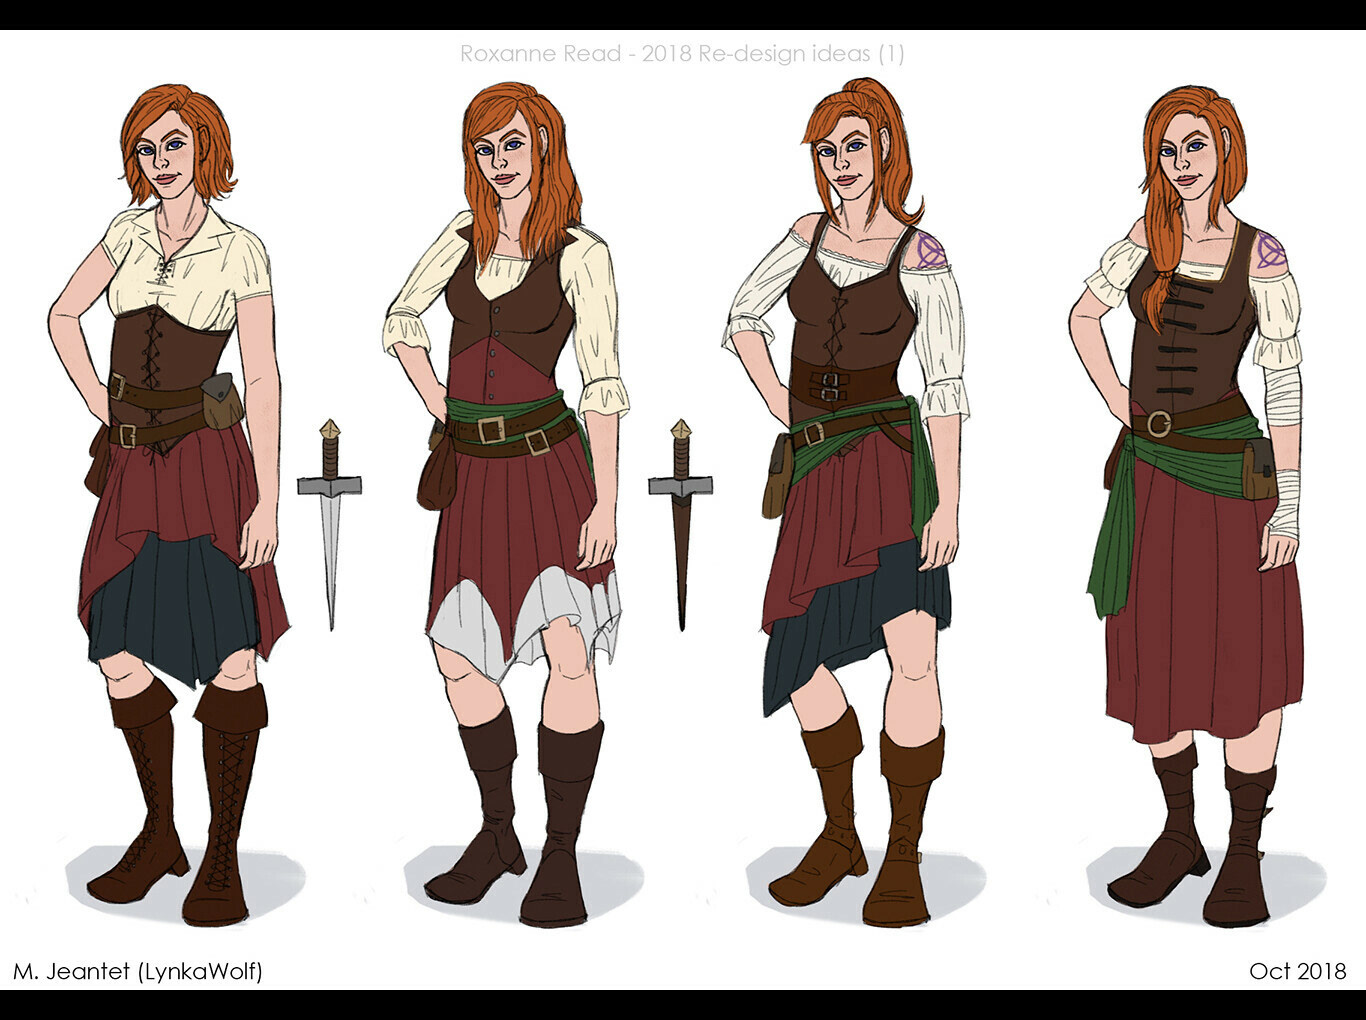
Roxanne - 2018 Concept Redesign Ideas 01
High-res Sculpts in ZBrush (pre-final retopology for the hair)
Turnarounds of the untextured, high-poly sculpts from my pirate characters Eliza and Roxanne from my personal story project "Legends of Erayfen" (and protagonists of its 'Cycle II: Chronicles of the Wind Rider'). I did these as part of a uni module focused on creating a self-directed project, as I wanted to learn more about digital sculpting (and ZBrush) and the overall 3D character creation pipeline for games.
The base body (Eliza) was created from scratch in ZBrush, using ZSpheres, and sculpted using subdivision levels. I retopologised it and UV unwrapped in Maya and projected the high-resolution sculpt's details onto the low-resolution model prior to extracting her hair or working on clothes and accessories. The hair was sculpted in ZBrush and not retopologised at the time. Accessories and clothes were sculpted in ZBrush from meshes blocked out in Maya.
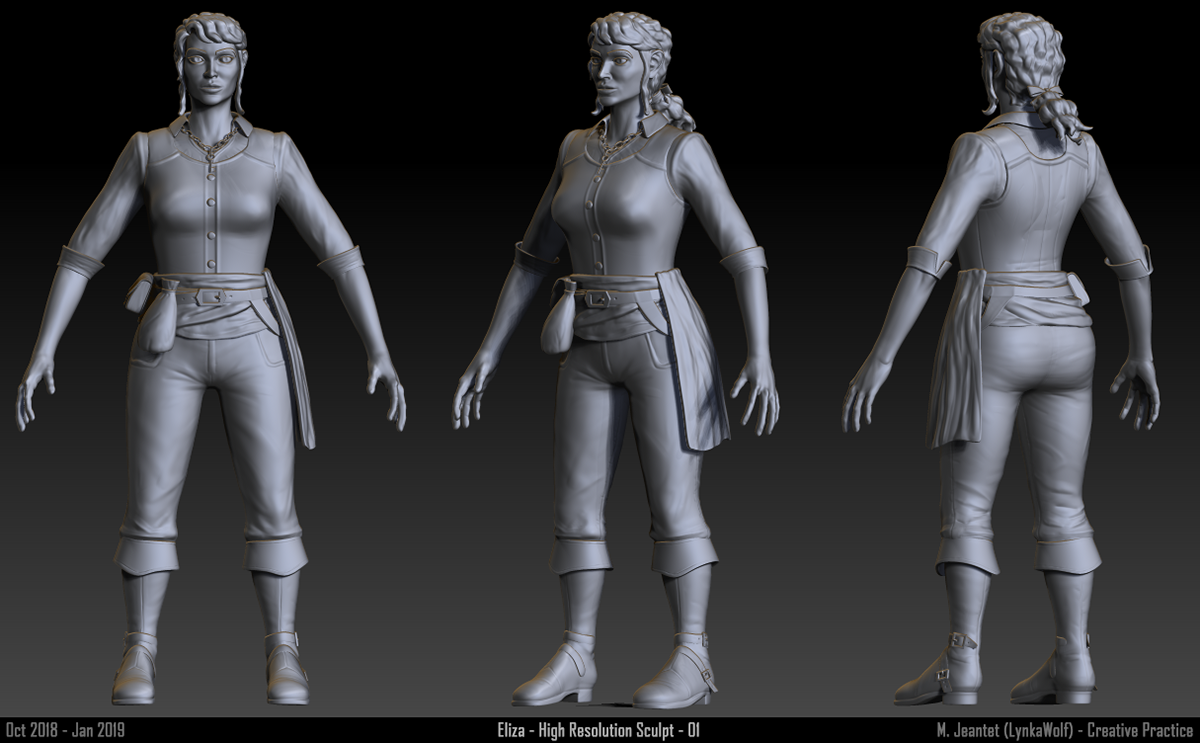
Eliza - High Resolution Sculpts in ZBrush - 01
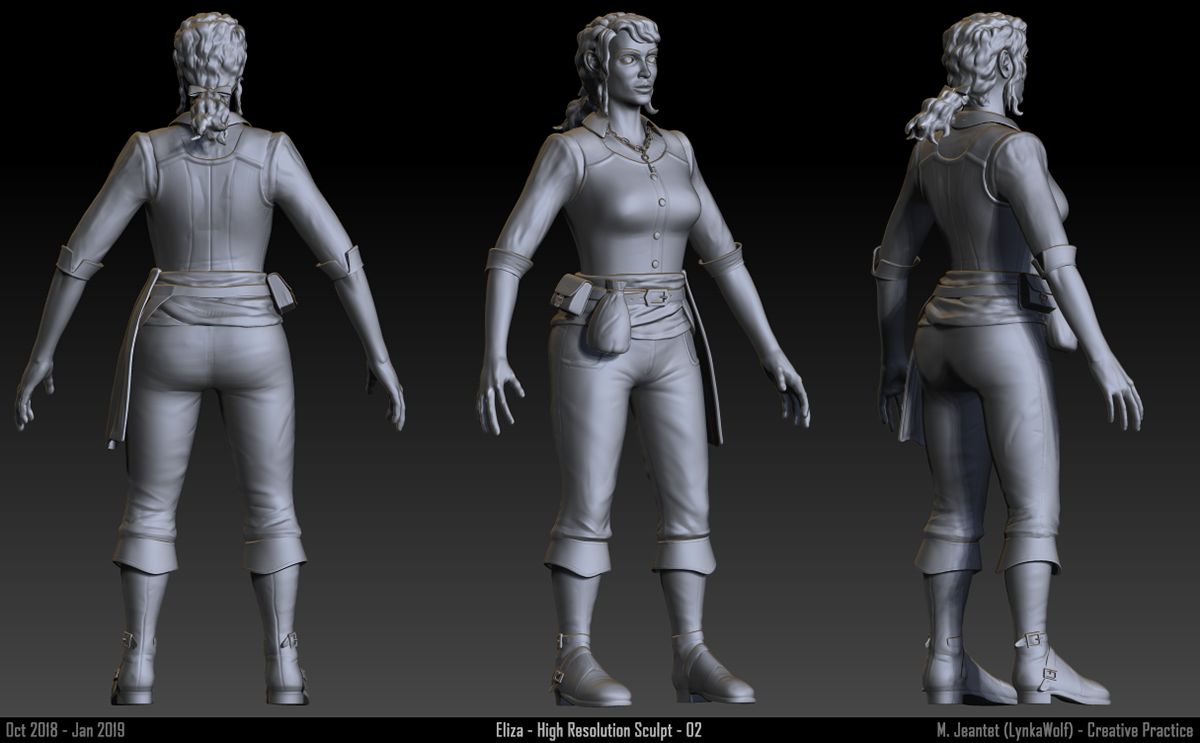
Eliza - High Resolution Sculpts in ZBrush - 02
I used Eliza's base body model reprojected with details at a high subdivision level and adjusted it through sculpting in ZBrush to create Roxanne's high-res sculpt. This also allowed me to keep a cleaner topology. Hair was extracted and sculpted in ZBrush, clothes and accessories were blocked out in Maya then sculpted in ZBrush.
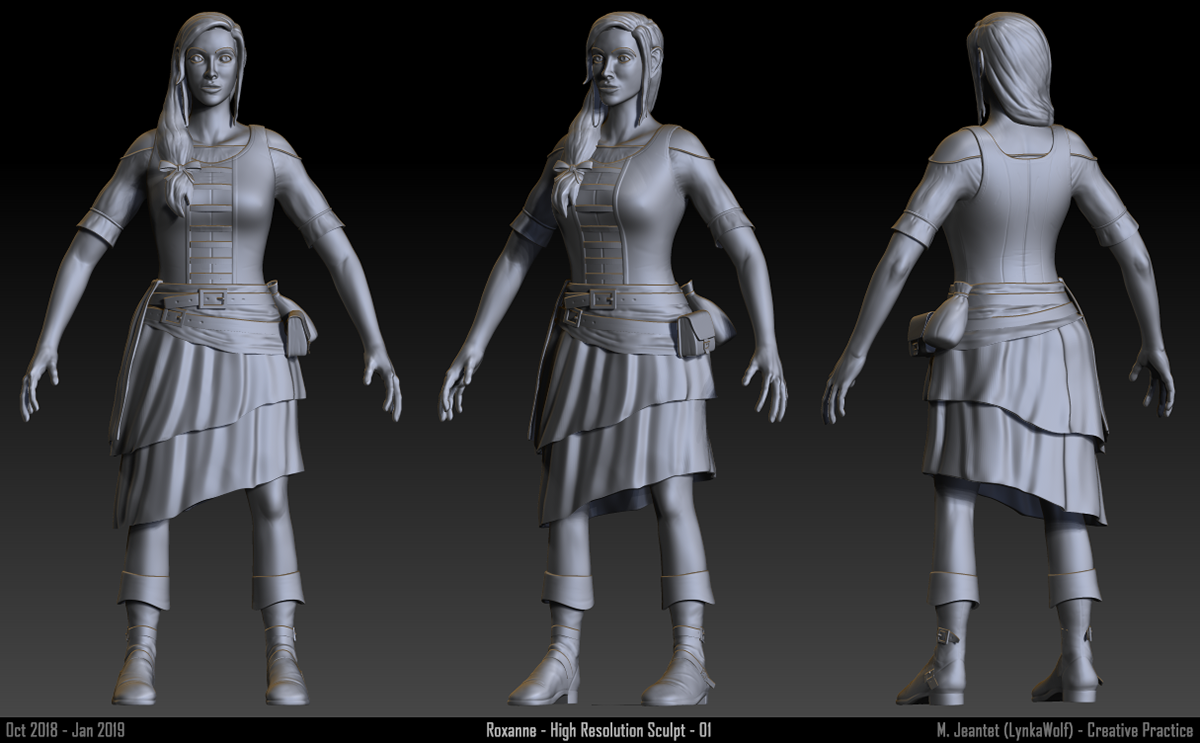
Roxanne - High Resolution Sculpts in ZBrush - 01
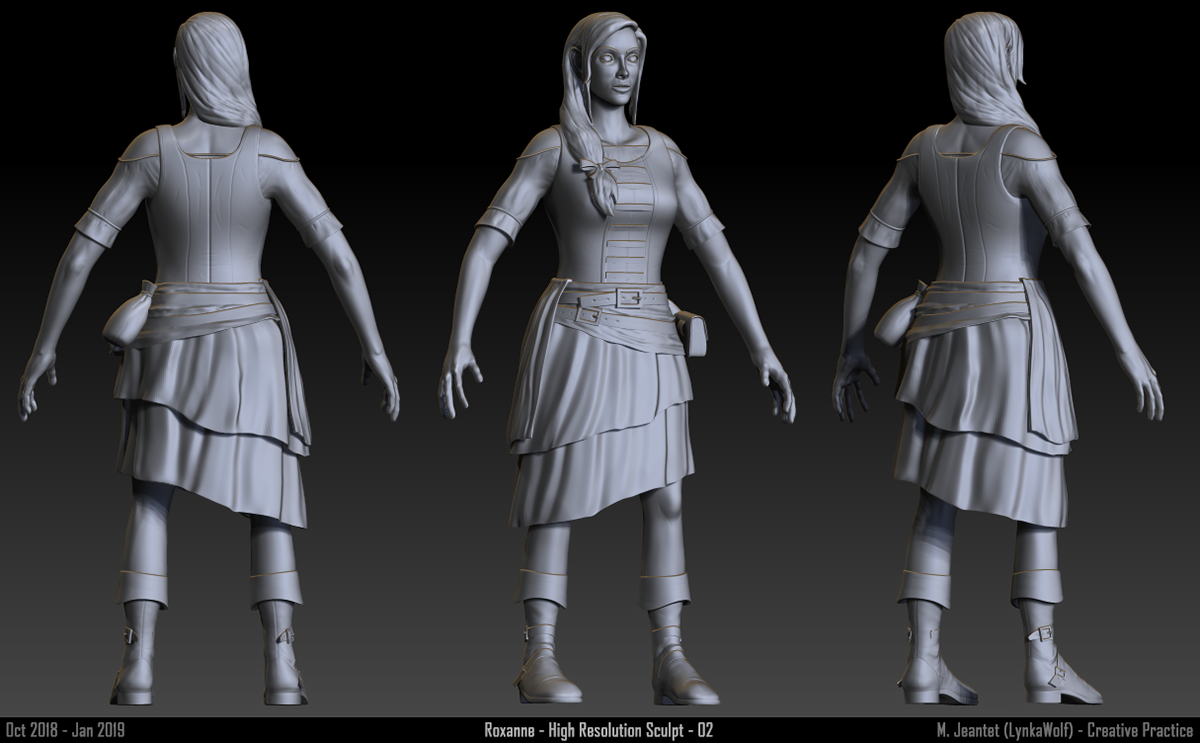
Roxanne - High Resolution Sculpts in ZBrush - 02
To summarise the project's workflow and tools:
Tools:
- ZBrush (Sculpting, details projection for the body)
- Maya (Retopology, UV Unwrapping, Rigging tests, mesh block outs)
- xNormal (details projection from high-resolution sculpts to retopologised meshes)
- Photoshop (character design drawing, texturing preparation and texturing edits)
- 3DCoat (texturing).
3D Workflow Steps:
1) Created base high-resolution sculpt for Eliza, using ZSpheres and subdivision levels.
2) Retopologised high-resolution sculpt in Maya and UV unwrapped it.
3) Projected high-resolution sculpt's details onto retopologised model, which was subdivided multiple times (ZBrush).
4) Extracted and sculpted hair in ZBrush.
5) Adjusted retopologised base body model and sculpted it to make Roxanne, using subdivisions to preserve topology (ZBrush).
6) Blocked out clothes and accessories for each model in Maya.
7) Sculpted clothes and accessories in ZBrush.
8) Retopologised hair, clothes and accessories in Maya.
9) Exploded meshes in Maya, projected details from high-resolution meshes (clothes, accessories, hair) to retopologised, low-resolution meshes with xNormal.
10) Used Photoshop to create a base for texturing the characters.
11) Textured the characters in 3DCoat.
12) Finalised texture maps in Photoshop.
Thanks for passing by!